Science Annotations
NOAA Ocean Exploration works closely with Ocean Networks Canada (ONC) to implement SeaTube, a web-based annotation interface for remotely operated vehicle (ROV) operations on expeditions aboard NOAA Ship Okeanos Explorer. SeaTube serves as the digital equivalent to a scientist's logbook. It is used by shipboard and shore-side expedition participants to log real-time observations on a variety of observations. SeaTube is accessible to authorized participating researchers to add observations during and after ROV expeditions aboard Okeanos Explorer. SeaTube enables searching and editing annotations and browsing video.
This page provides details of how to use SeaTube. For information about standardization of annotations and adopted vocabularies, see Annotating NOAA Ocean Exploration Video. For information about how SeaTube can be used to annotate ROV video of maritime heritage sites and resources, see the fact sheet SeaTube: A Collaborative Tool for Maritime Heritage Analysis.
Video courtesy of Scott France and Upasana Ganguly, University of Louisiana at Lafayette/NOAA Ocean Exploration. Download (mp4, 510 MB).
Participating in SeaTube annotations
Overview
Days, months, and years after an expedition ends, it is of the highest importance to be able to reconstruct expedition events as they occurred. Data, imagery, and video from expeditions on Okeanos Explorer all include the date and time they were collected, but that information provides small comfort to the scientists who must sift through thousands of files to locate a single piece of data. The purpose of SeaTube is to improve the usability of ROV data. Each entry in SeaTube is time stamped (UTC time). The more frequent and consistent the annotation entries, the more accurate and useful the annotation results.
Prerequisites
Before users can use SeaTube, they must request an ONC account through the Okeanos Explorer Collaboration Tools form. Access to SeaTube for Okeanos Explorer expeditions will be limited to participants with a valid Okeanos Explorer collaboration tools account. SeaTube is an annotation tool; during live dives, users will still need to separately access live video streams. For any operational communication, users are encouraged to use the EX Chat Room. For more information about meeting these prerequisites, please refer to the following documentation:
Connecting to SeaTube Using a Web Browser
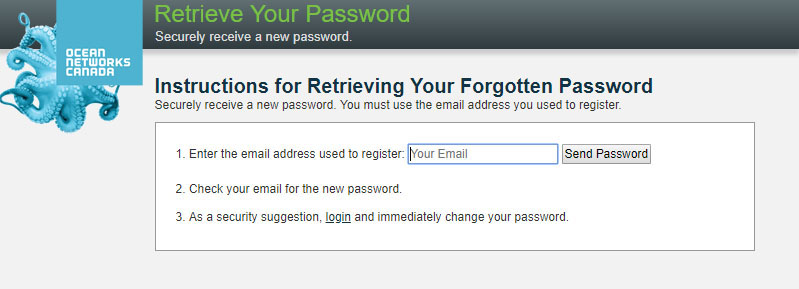
Access to SeaTube requires an authorized account, which you will need to request using the Listserv and Collaboration Tools Account Request form . Once an EX collaboration tools account request is complete, the user will be authorized to access SeaTube. If you did not already have an account with ONC, one has been created for you. Your username is the email address you used to register for your EX collaboration tools account. Please reset your ONC password by using the password recovery option .

If you already had an ONC account associated with the email address that you used to register for your EX collaborations tools account, we have given that account permission to edit NOAA-related cruise material. The password has not changed.
View detailed instructions on how to use all of the EX collaboration tools. Please contact ex.collaborationtools@noaa.gov if you need additional support.
Note 1: The ONC validation server is case sensitive. To avoid validation errors, please ensure that your email account for your EX collaboration tools account and ONC account match.
Note 2: The preferred web browser for SeaTube is Chrome. Other web browsers are supported but are not regularly tested
Accessing Expeditions for Video annotations
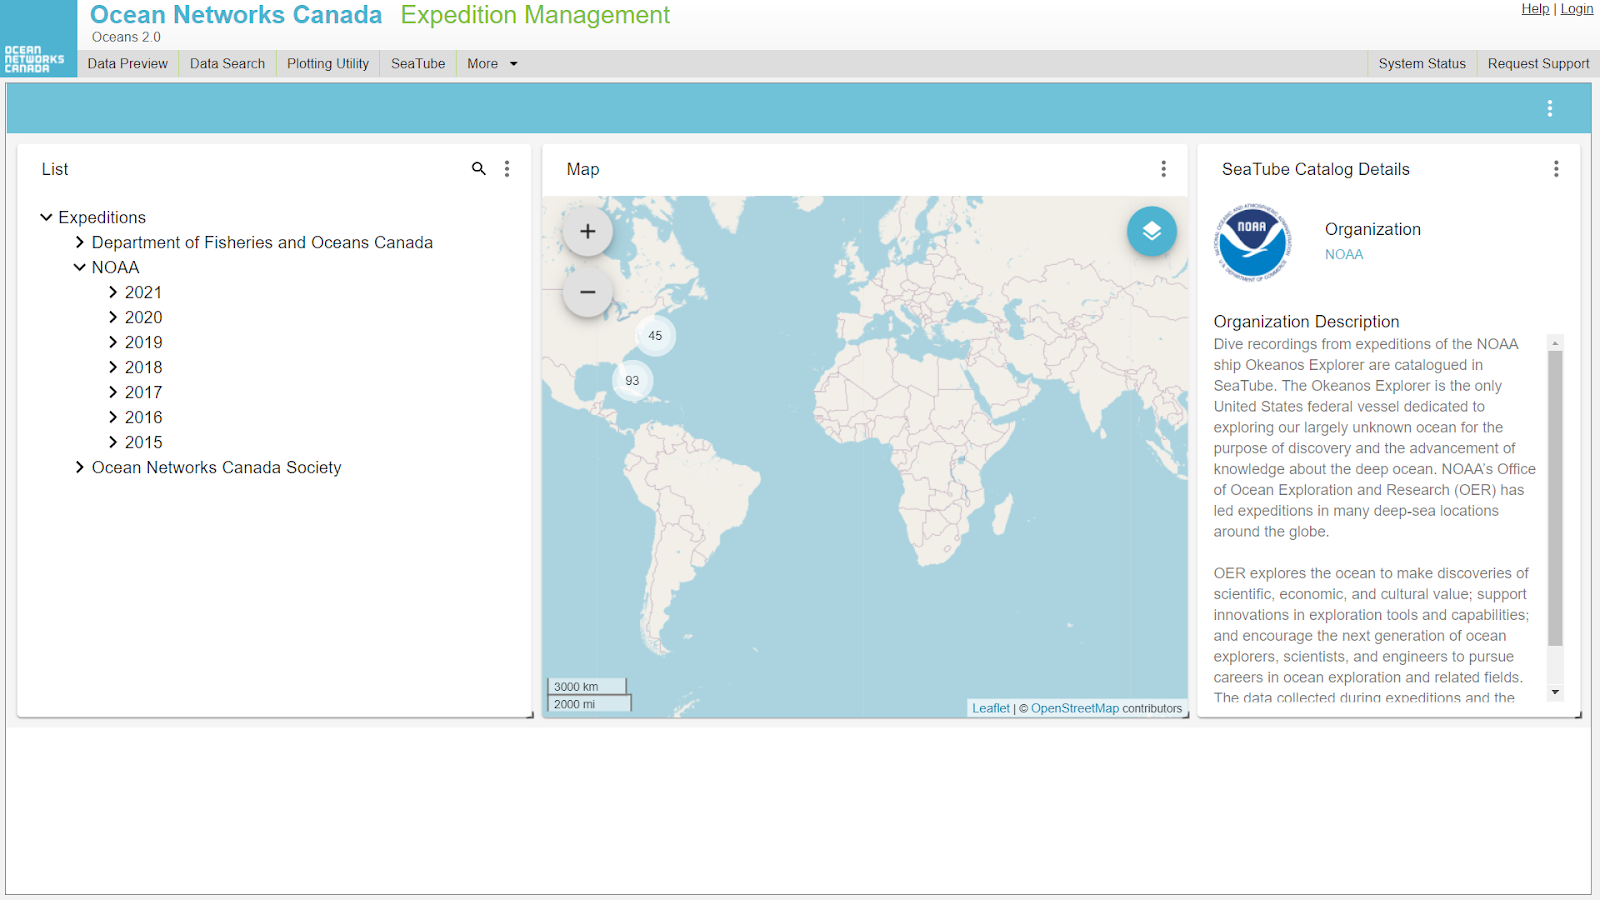
Visit https://data.oceannetworks.ca/ExpeditionManagement , login (top right of the page), and click on Expeditions to browse NOAA Expeditions on the left panel.

Switching Between Live annotations and Historic Annotation Mode
Once the dive is selected, a new window will open with several working panels (these panels may be modified based on user preference). If accessed during a real-time dive, “Dive in Progress” will be displayed in the upper right of the top banner, with a clickable link (an arrow with pop-up "Go to Live Dive"). To enable capturing of the correct time stamp during the real-time live dive, you must switch to this live dive-stream mode. For non-live annotations, use the "Historic Video" mode. Due to latency issues, the live video stream through SeaTube has been disabled. Contributors who are annotating ROV dives in real time should therefore use the EX live video streams for viewing video.
Annotation Modes – Historic Versus Live
Within SeaTube, users are able to watch and provide annotations for either livestream video (from a dive that is in progress), or historic video (video that has been archived for a dive in the past).
Apart from the real time versus archive aspect of the video being watched, which mode you are in will affect the default behavior for the timestamps that are generated when creating associated annotations.
When a dive is currently in progress, accessing SeaTube will open the main Annotation window, similar to what is shown below. “DIVE IN PROGRESS” will be displayed prominently in the upper right.

Figure 1 - Main SeaTube Annotation Window.
Users are able to toggle between Historic and Live modes (as discussed in more detail below) by clicking on the icon to the right of “DIVE IN PROGRESS.”

Figure 2 - Historic mode icon. Clicking will toggle to Live mode.

Figure 3 - Live mode icon. Clicking will toggle to Historic mode.
For dives that are not currently in progress, the main title bar of the window will look like what is shown below. For these dives, Historic mode is the only option available, and as such no mode icons are displayed.

Figure 4 - Historic mode only available.
How to Record Annotations
Annotations can be added in SeaTube by using the Annotation Entry panel. Hit “Capture time” to record time of observation. This will enable the annotator to put together their annotations without worrying about time of annotation. Use the built-in taxonomies (e.g., WoRMS, WoRDSS, etc.). Start typing the annotations in the Taxon field and suggested annotations will pop up. Select from one of the suggested entries. Free-form comments can be added in the Comments section. Leave the Resource Type and Resource to the default values (Device Data and Insite Pacific Zeus Pius Camera On ROV Deep Discoverer, respectively). Attributes can be added to the annotation by selecting the three dots on top right of the Annotation entry panel and selecting attributes. Once satisfied with the annotation taxon and comments, press Save to save the annotation entry. Alternatively, “Save & Keep Time” can be used to save the annotation entry and create an additional separate observation that occured at the same time. If unsure about an annotation, it can be flagged for review by checking ‘To be reviewed’.
Annotations should be recorded as close to the observation being noted as it occurs. The closer in time that events are documented to the observation, the better their timestamps will correlate with the video data and associated metadata. This is why it is essential to use the low-latency science stream instead of YouTube. Since events can be entered by all expedition participants connected to SeaTube, it is likely that on occasions multiple people will log the same observation. This will result in multiple copies of the same observation being recorded in the Annotation List. Although not ideal, this is a better scenario than no one logging the observation. It is recommended that unless someone has been tasked with logging observations of a certain type that all participants add their annotations as they see fit. Multiple entries in SeaTube can always be combined into a single entry later on. It is better to log too much than too little.
What to Log
SeaTube is meant to be used to record all types of "observational" data. It can also be used for posting subjective information, but this should be done with great discretion as it may mislead those searching the SeaTube annotations after an expedition. As much as possible, use the pertinent subject matter taxonomies for your annotations (i.e., pre-set biological and geological vocabularies). The types of events to record include, but are not limited to, the items listed below.:
Scientific Observations:
- Biological identifications and observations, including as much detail as possible about organisms, any notable observations about any unique behavior.
- Geological and substrate observations, including the sediment type, any unique geological environment.
- Underwater cultural heritage observations, including first sighting of the object, bow, stern, damaged section, and identifying characteristics being observed.
- Anthropogenic macro-debris, including discarded fishing gear, plastic, cans, fabrics, etc.
- Operational notes, including when and what samples are taken, when the ROV reaches the seafloor, when the ROV leaves the seafloor, and any equipment malfunctions.
What Not to Log
It is important to only annotate observations objectively, not speculatively. SeaTube observations should not be used for discussion amongst expedition participants. These discussions are a distraction to the other users and should be conducted in a separate chat room or one-to-one chat. For more information on using a separate chat room or one-to-one chat, please refer to either the set-up instructions for Windows users or Mac users.
Downloading Annotations and Associated Images
The export functionality of SeaTubeV3 is now merged with Search. You can access the Search web page by clicking on the Search Icon (the magnifying glass icon to the right of “SeaTube Catalog Details”) on the main Expedition Management page.

Once in the Search and Export webpage, annotations can be searched based on an expedition, dive, contents, and creator of annotations. Additional filters for date, depth, and taxonomy/taxon can be applied. If all of the annotations from a dive are required, leave the search fields blank. The displayed search results can then be exported. To include a video snapshot of images with the annotations, check “Include Video Snapshots.” A download file in CSV format will be made available for download once the export is complete.
Images from videos at selected intervals can also be exported using “Image Export” and providing start and end times of the video for which images are required.

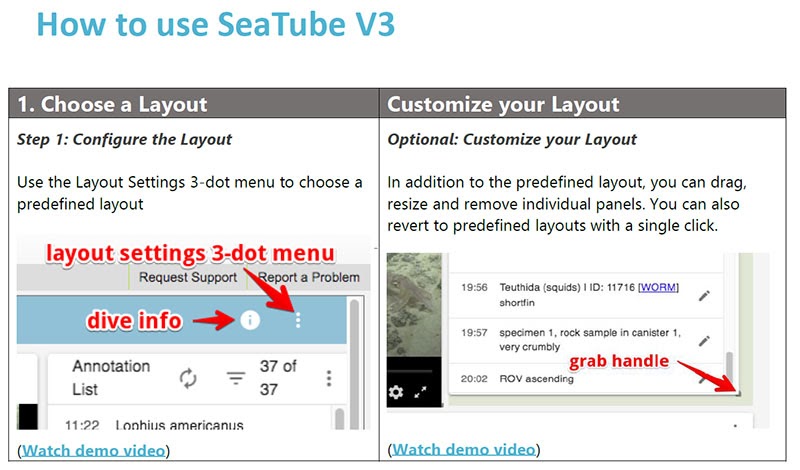
SeaTube User Manual

For more information on how to use SeaTube, please refer to the user manual.
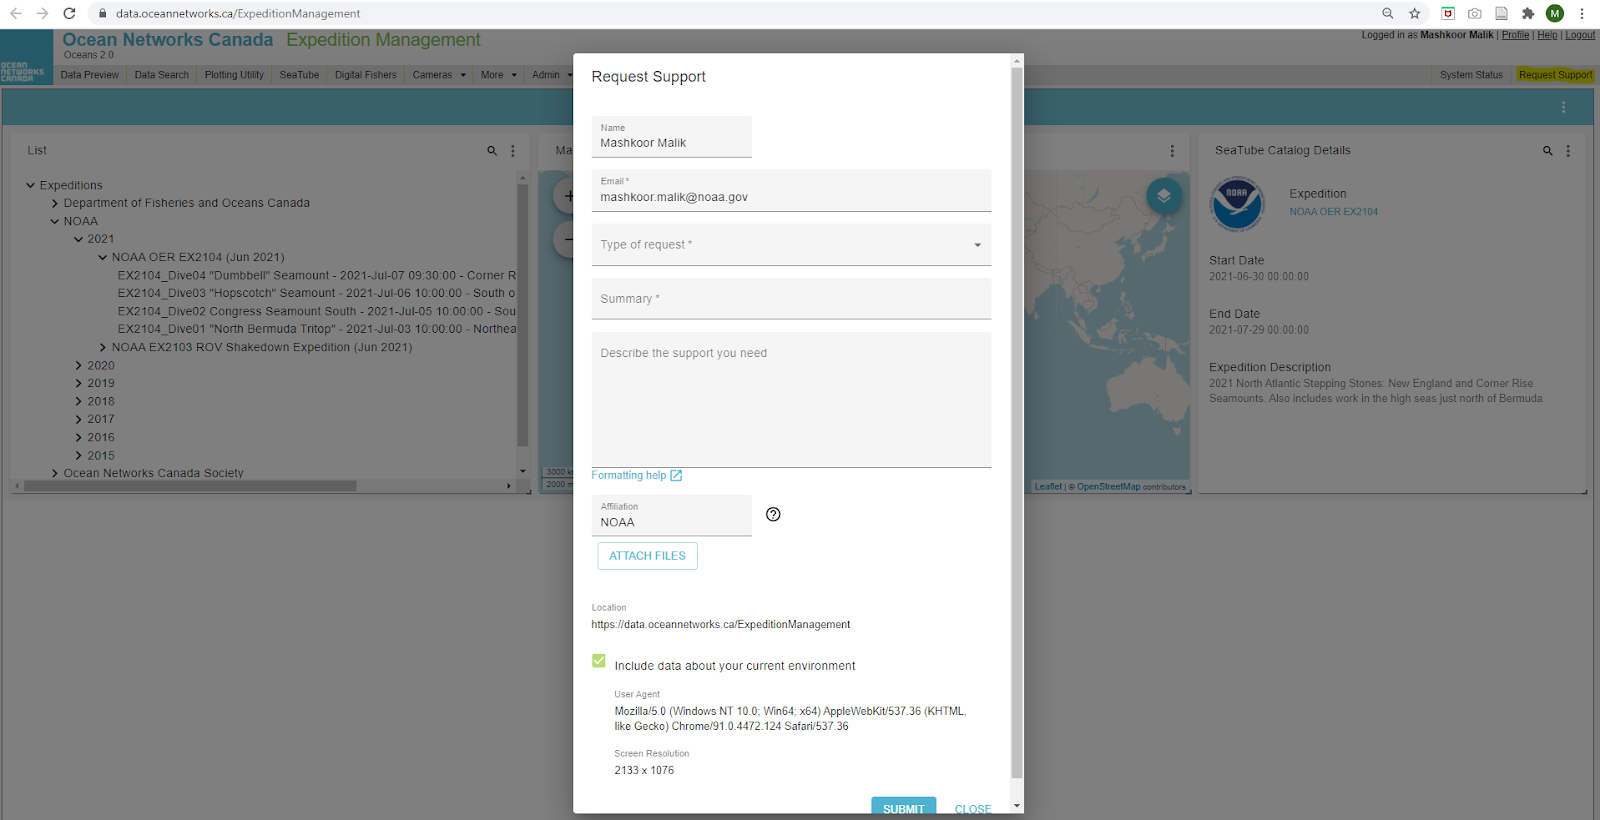
How to request further support
Further support can be requested by clicking on ‘Request Support’ and completing the request support form.
